
Introduction:
Generating the GSTR-1 report in Tally Prime is an essential task for businesses registered under GST in India, as it summarizes all outward supplies for a given period and facilitates easy filing on the GST portal. Tally Prime offers a seamless, user-friendly process to help you compile, review, and export your GSTR-1 data.
Step 1: Record Accurate GST Transactions
Ensure all GST-related transactions—such as sales, purchases, and credit notes—are entered accurately in Tally Prime. These transactions automatically reflect in your GST reports, so accuracy at this stage is crucial.
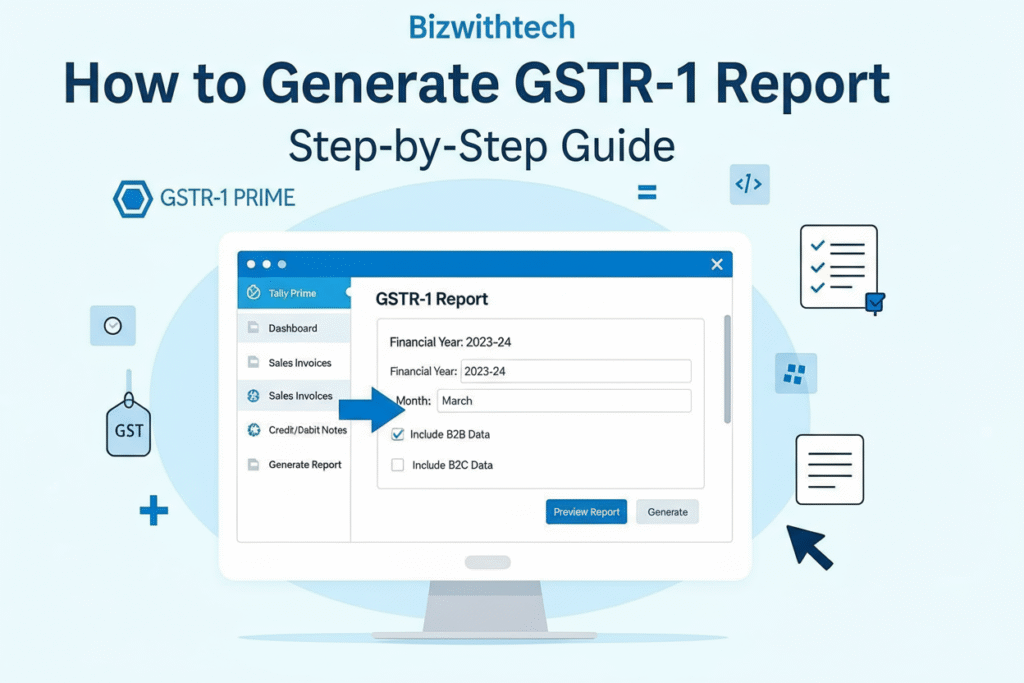
Step 2: Accessing the GSTR-1 Report
To view and generate the GSTR-1 report:
- Go to Gateway of Tally
- Navigate to Display More Reports > Statutory Reports > GST > GSTR-1.
- Alternatively, press the shortcut keys D + O + G + 1 to quickly open the GST report section for GSTR-1 in Tally Prime.
- You can also press
Alt + G(Go To), type or select “GSTR-1”, and press Enter.
Step 3: Set Up Filtering Options
You can customize your report period by pressing
F2and selecting the desired dates. If you operate multiple GST registrations, useF3(Company/Tax Registration) to select the relevant GSTIN for the report.
Step 4: Review Report Sections
Tally Prime neatly organizes the GSTR-1 report into sections such as:
- Header: Company information and GST registration details.
- Total Vouchers: Statistics of transactions included in the report.
- Return View and Nature View: Mirrors of data as presented on the GST portal and in your company books respectively.
Step 5: Make Corrections and Reconcile Data
Before exporting, review the data for errors, unmatched transactions, or omissions. Correct or reconcile any issues to ensure accuracy and compliance.
Step 6: Exporting the GSTR-1 Report
To export the prepared report:
- Press
Alt + E(Export) > GST Returns.- The export screen appears, where you choose the desired format—JSON (preferred for portal upload), Excel, or CSV.
- Select the period and other required parameters, then export your report.
- If needed, update or alter the HSN Summary by pressing
Alt + Vbefore export.
Step 7: Upload to GST Portal
Once exported, upload the JSON or Excel file to the GST portal. If using Tally Prime’s integration, you may be able to file directly from the software by pressing
Alt + Z(Exchange) > File GSTR-1 or Upload GST Returns (verify with your Tally version).
Key Features & Tips
- Tally Prime automatically maps your sales data to the corresponding GSTR-1 tables.
- Large volumes of data load instantly, thanks to Tally’s robust performance engine.
- Any changes in your books or GST details are promptly tracked—ensuring compliance and ease of reconciliation.
- Always match your GSTR-1 data with portal figures before final submission to avoid mismatches and penalties.
Need GST setup or monthly GST return support? Contact Us for support or remote help.
FAQs – GSTR 1 in Tally
Yes, use F3 (Company/Tax Registration) on the GSTR-1 screen to select the desired GSTIN and view or export data for that specific registration.
Tally Prime highlights uncertain or mismatched transactions within the report. You can drill down and resolve these issues before exporting or filing.
JSON is the recommended format for direct upload. You may also export in Excel or CSV for offline reconciliation or review.
Yes, starting with newer versions, Tally Prime supports direct upload and filing of GSTR-1 via EVC or DSC after exporting and reconciling your data.
Ideally, generate and review your GSTR-1 monthly or as per your business’s GST filing schedule to ensure timely compliance and minimize last-minute errors.
Check for format issues or mismatches highlighted by the portal. Reconcile your Tally Prime data, correct discrepancies, and export again in the required format before re-uploading.


